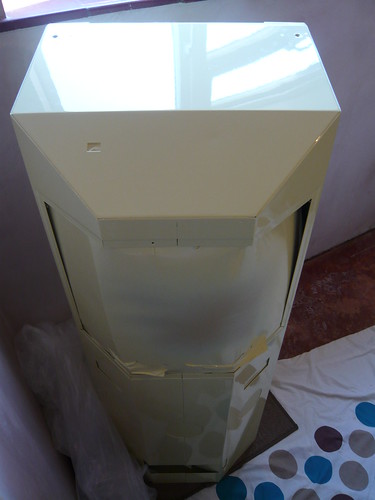
It’s now time to strip the main body, prepare it for painting and take it to the painters.
Tools required:
Ratchet and sockets – 7mm
T20H Torx bit
A couple of small Philips bits
Monitor removal
1. Remove back cover by unscrewing the eight black M4 Torx bolts.
2. Unplug the power cable and video connector. Note: It’s possible to unplug these from the front without removing the back cover, but I had to remove it anyway and it makes access a little easier.
3. Unscrew the four M4 nuts securing the monitor. The monitor can now be removed. Just take care that the leads don’t catch on anything when removing the monitor.
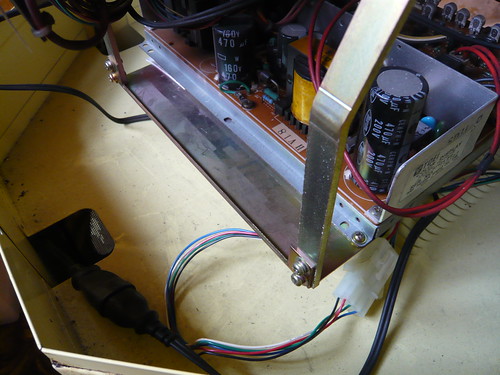
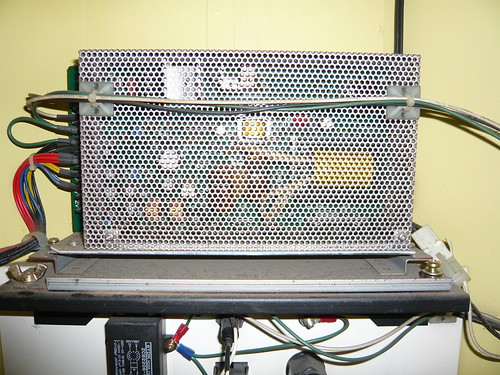
PSU removal
1. Remove wing nut and Philips screw, spring washer, washer, and spacer.
2. Loosen cable tie and remove wires.
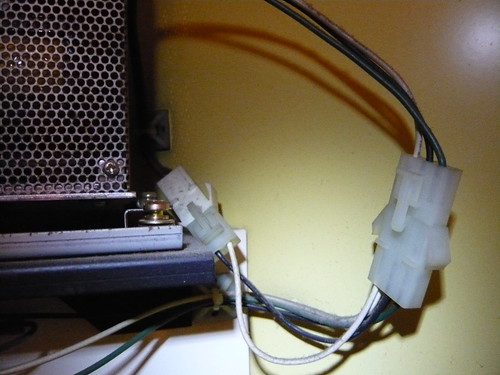
3. Unplug four AMP UP connectors:
On left side:
1x 2 pin
1x 4 pin
1x 6 pin
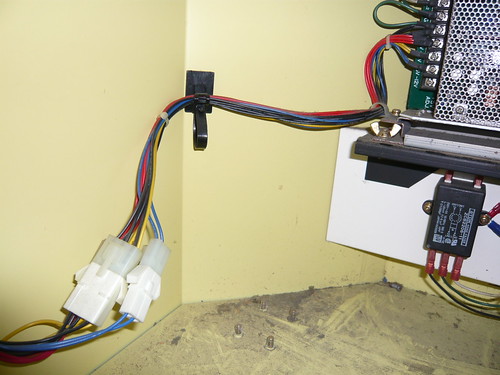
On right side:
1x 3 pin
Filterboard removal
1. Unscrew four M4 nuts
2. Unplug two AMP UP connectors:
1x 2 pin
1x 4 pin
I then unclipped / removed the two plastic handles from inside the cab, and disconnected and removed the on / off switch at the top of the cab.
My wife and I spent a couple of hours giving the cab a really good clean, both inside and out.
We used the following:
1. Cillit Bang Power Cleaner – Grease & Sparkle
2. General purpose cloths
3. Kitchen roll
4. Huggies Pure baby wipes
5. Ambersil label remover
6. LPS electro contact cleaner
7. Powder free blue nitrile medical examination gloves
8. Plastic spoons
I gave the cab a clean with Cillit Bang Grease and Sparkle and general purpose cloths, removed any remnants with kitchen roll, and then gave it a good wipe down with baby wipes. The label remover was great for removing stickers and sticky residue. I used plastic spoons to scrape off sticky residue.
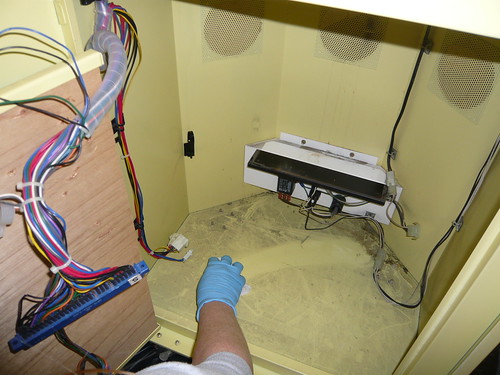
I gave the wiring a good clean with baby wipes. The control panel loom connectors were covered in coffee residue. I gave them a good spray of electrical cleaner, and then used baby wipes on the wiring and connectors.
I found a few random nuts and bolts on the bottom and bizarrely a cocktail stick behind the PSU!
I measured the position of the Capcom side art, sprayed it with label remover and then peeled it off. You can see just how faded the paintwork is.

I also noted the position of the original manufacturer’s stickers and carefully removed them. They were mostly in poor condition and I plan to have repro stickers made.
Masking off and considerations for the re-spray
Once the cab had been cleaned, we started masking off the internals. I decided not to have the internals re-sprayed because it would be difficult for the painters to achieve a good finish, and also the paint was still in good condition anyway.
The following items were masked to prevent overspray inside the cab:
1. Back cover
2. Front, excluding the outer rim and the top marquee area.
3. Filterboard space
4. On / off switch space
5. 2x plastic handle spaces
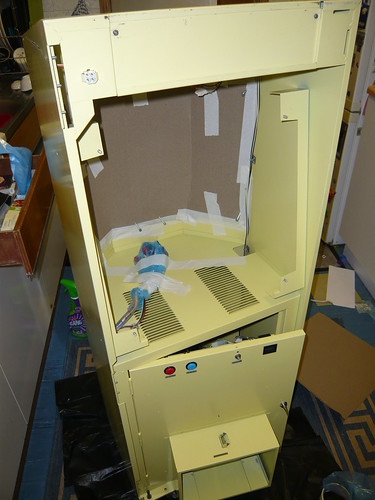


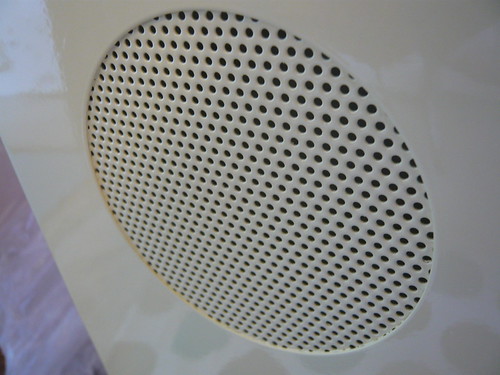
I was concerned that if the ventilation holes were masked off inside the cab, there would be a chance of the paint building up inside the holes. To counter this we taped plastic bowls inside the cab around the ventilation holes.
I also fitted bolts to the various threads and asked to have the ridge at the bottom of the cab re-sprayed.
Off to the painters.
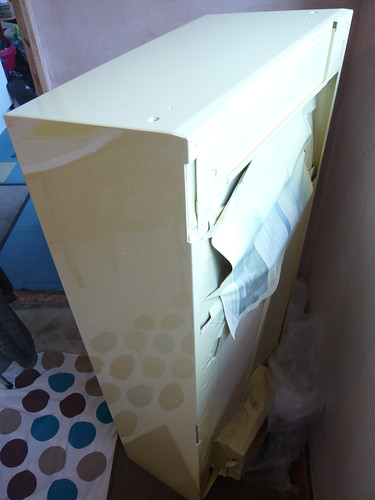
The result
The paint firm colour matched as close to the original yellow as possible. I used the paint where the Capcom side art had been as reference.
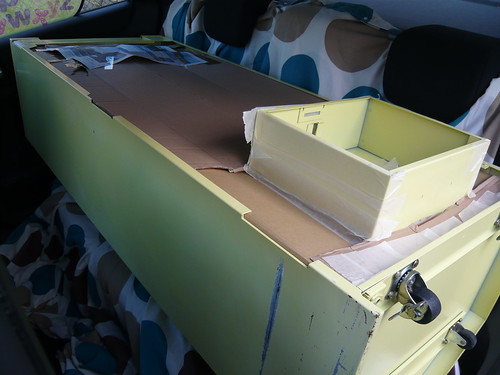
Even though the cab went in the back of the car ok, it was a little bit tight getting it in without touching the door frames and so I hired a van to collect the cab. I didn’t want to scratch that fresh paintwork!
No comments:
Post a Comment